We understand. Professional logo design isn’t in everyone’s budget. But you can still have a nice looking logo even if you decide to do it yourself by following these these tips from the pros.
Step 1: Do Your Research

Before you even start to design, you need to get some inspiration. Here are some guidelines for finding the best inspiration.
- Use Pinterest and Google
- Search what others in your field are doing and think about whether you want to do something similar or completely different
- If you have an idea of some imagery that you want to use (like a tree, for example), search for that specific type of imagery (for instance, “Tree Logo” or “tree vector”) to see what unique things can be done with that object. While you should never copy anything you see exactly, it’s perfectly OK to build off another image and make it your own.
Step 2: Try Sketching Out Ideas
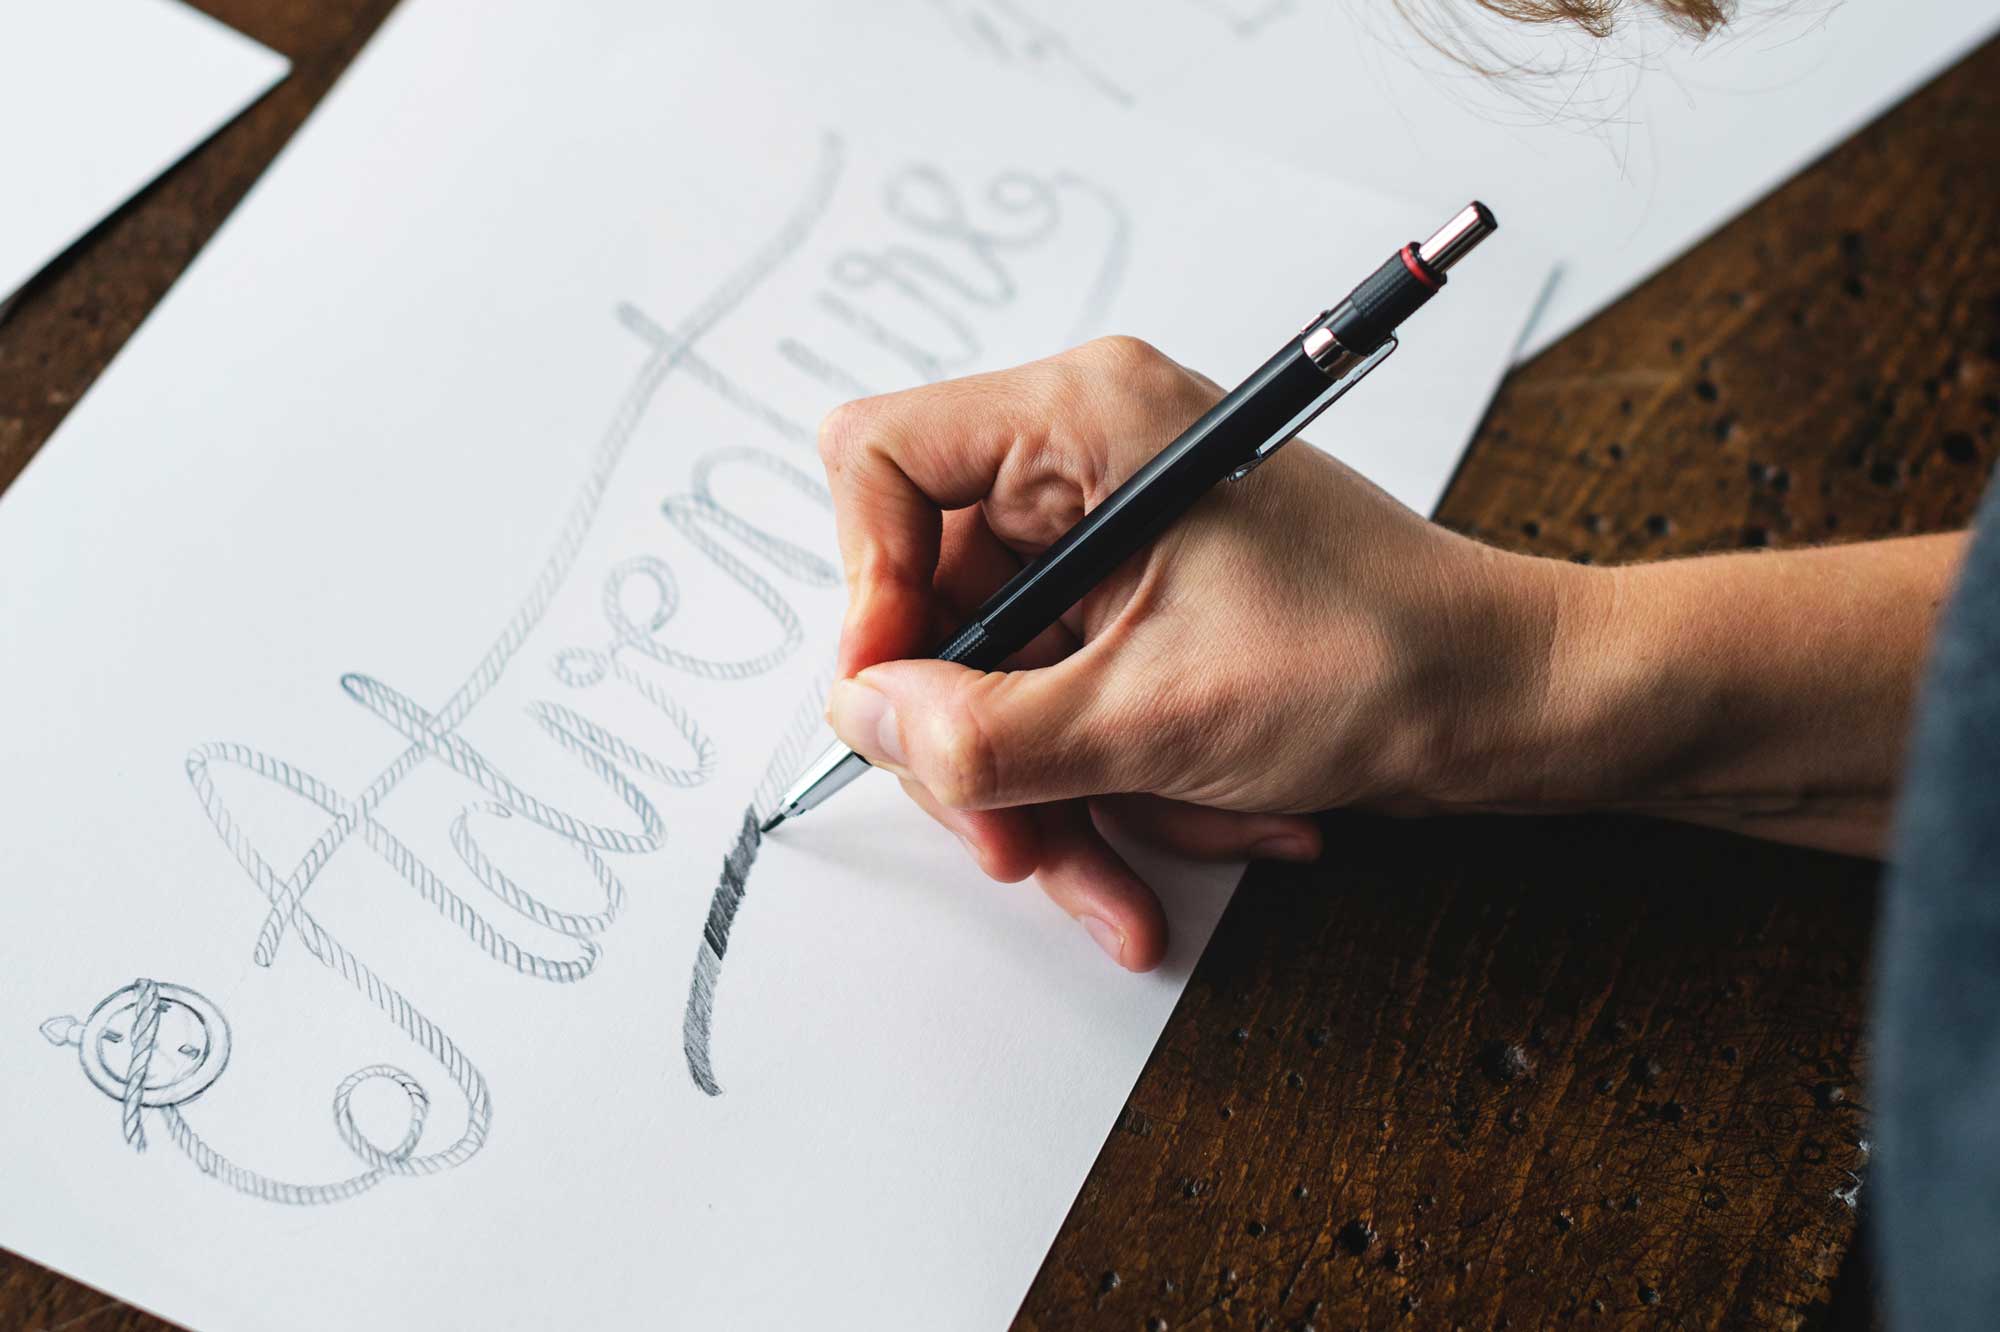
If you’re not comfortable with designing on the computer yet, it might be easier to draw out some ideas. You don’t have to be a good illustrator to do this. It is just a way to organize your ideas on paper and get your creative juices flowing.
Step 3: Find A Good Application To Use
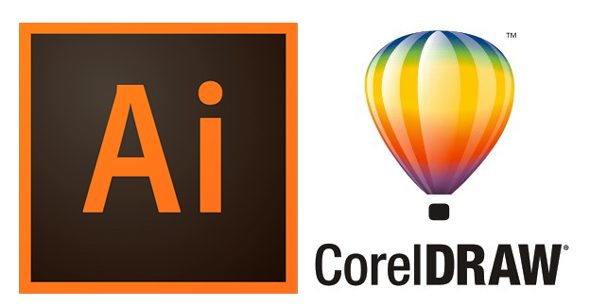
The number one thing you need to look for in an application or design program is to make sure your logo can be saved in vector format. A vector will have either .ai, .eps, or .svg at the end of the file. There are several websites and free applications that allow you to create your own logo. However, the icons that come with them are difficult to make 100% unique to you, so you run the risk of someone else having the same icon as you. Your best bet is to invest in a program like Adobe Illustrator or Corel Draw. Both of these options are expensive to purchase. However, the free trials may give you enough time to complete your logo project. There are a ton of tutorials on the web that can help you work with the program of your choice to create a logo.
Step 4: Find Some Vector Artwork To Start From
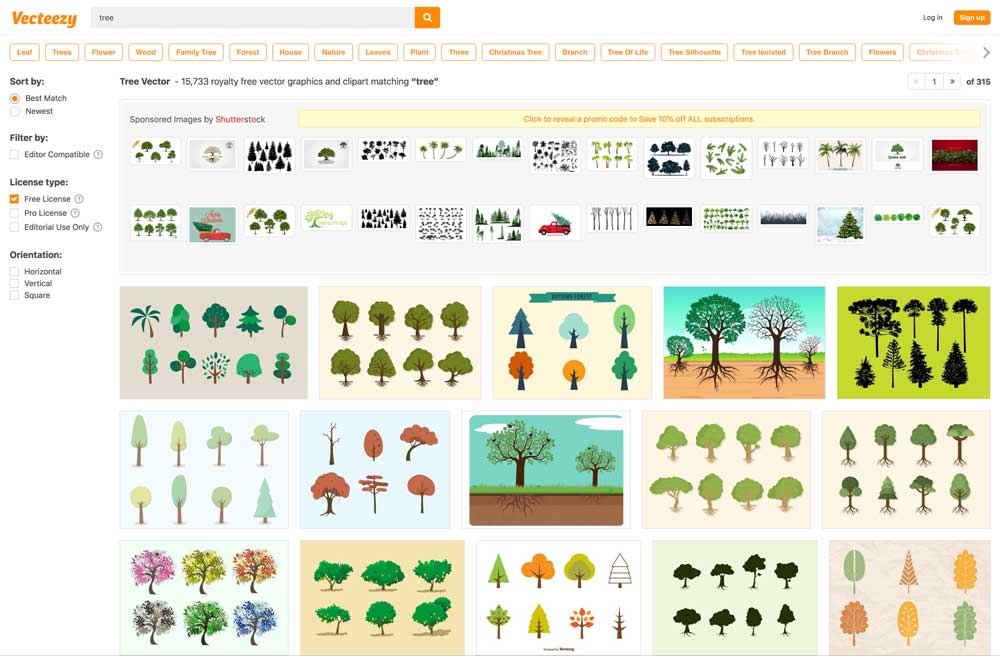
We know; nobody wants their logo to look like clip art. But if you’re not a professional designer you’ll have to start somewhere. There are lots of good quality stock vector options out there. And to be clear, you really need to make sure you’re using vector files. Vector artwork allows your logo to be blown up as large as you want it while it stays crisp and clear. This means you should not use “raster” images (.jpg or .png files) in your logo. Using vector artwork also allows you to customize the shapes however you like, so it is completely unique to you. Some great resources for vector artwork are shutterstock.com and vectorstock.com. There are also a ton of free vector websites out there if you google “free vector [keyword here]”.
Step 5: Pick Your Font

There are millions of beautiful fonts out there, so choosing one can be overwhelming. The best way to start picking the font you want is to figure out the style font you want: Serif, Sans Serif, Script, or Display (this could be techy, stylized, fun, etc). You have to be careful to make sure the font you decide on is legible. Some great resources for finding beautiful free fonts are fonts.google.com, dafont.com, fontsquirrel.com, and losttype.com.
Step 5: Pick Your Color Scheme
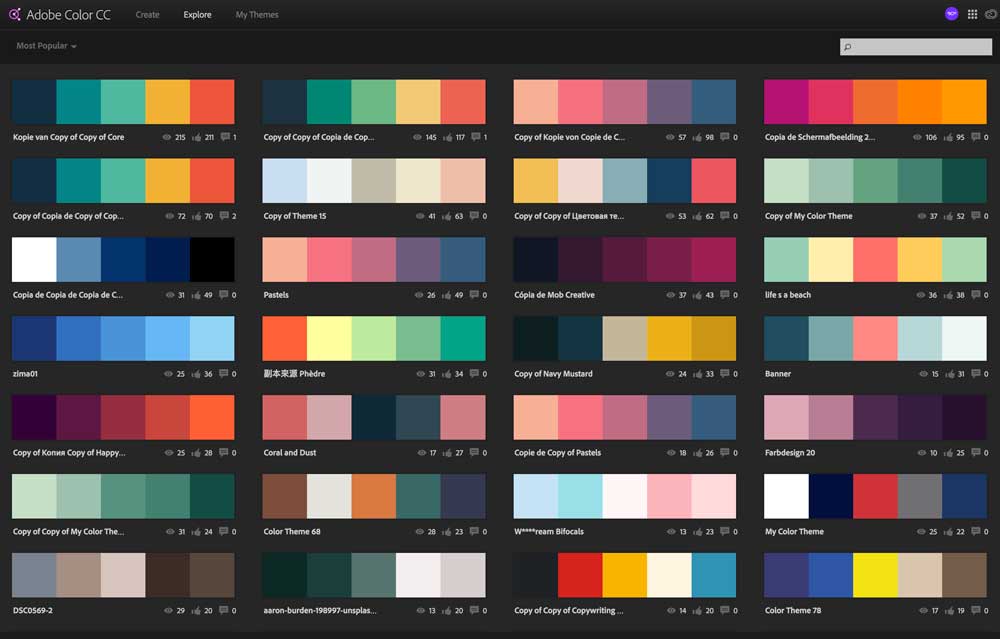
Sometimes this is the hardest part: finding the perfect colors that reflect your business. The best resource to find the perfect color palette is color.adobe.com. You can explore hundreds of pre-made color schemes to find something that feels right for you. While assigning colors to your logo, make sure that none of the colors are too light to see on a white background or that the colors are not “fighting” when next to each other. Not just any two colors work well together.
Step 6: Play With Composition
Figure out if you would like your logo to be centered, left aligned, or even right aligned. Move the artwork and type around until it feels well balanced to you. You also have the option to create multiple versions based on where you are using the logo, as long as the colors, font, and artwork stay the same.
Step 7: Create Several Options to Choose From
It can be hard to create just one idea. Build out all of the ideas you have in your mind and make tweaks until you have one that you are happy with. Sometimes it can be hard to pick just one, but DO NOT use more than one different logo for your business. It is one thing to change the composition, but to change the colors, font, and/or artwork is very confusing for your customers and just plain bad branding practice.
Step 8: Save Your Logo
Once you are happy with your logo, you will need to save it. There are a lot of different formats you will need your logo in. As mentioned, vector being an important file format. This is what t-shirt and sign companies will use when they create collateral for you. You will also need web versions in .jpg and .png (the png will have a transparent background) as well as print versions in .jpg, .pdf, and .tiff.

Creating a logo can be time consuming, but it is all worth it in the end once you have a face to your brand that you love!
Or you know…there’s this…hahaha
The Easy Way To Create Your Logo:
Step 1: Don’t Do It Yourself
Step 2: Call 90 Degree
Step 3: Be blissfully happy


